
One of the goals for this year is to create a new homemade dog treat recipe every week to share with everyone. It's Friday. I needed to get on the ball with this week's recipe. At first, it wasn't looking too promising when I opened the baking cupboard. The stash of dried fruit was gone. I had no dehydrated vegetables. There wasn't a single can of mashed pumpkin to be found. I was almost on the brink of putting it off until tomorrow after Lisa went grocery shopping, but then I realized that would be taking the easy way out.
I took a step back. I put myself in the shoes of a pup parent who had run out of biscuits. Heading to the store to grab a quick fix wasn't an option. Snack time was approaching. I scanned the baking cupboards and the refrigerator.
I got creative. Isn't that the whole point? Simple ingredients. Use what you probably already have in your kitchen. Budget-friendly.
An hour later, I had fresh, homemade dog treats cooling on the biscuit trays. This is what we gave our kids for a snack and they gobbled 'em up...even Coco who is our pickiest eater.
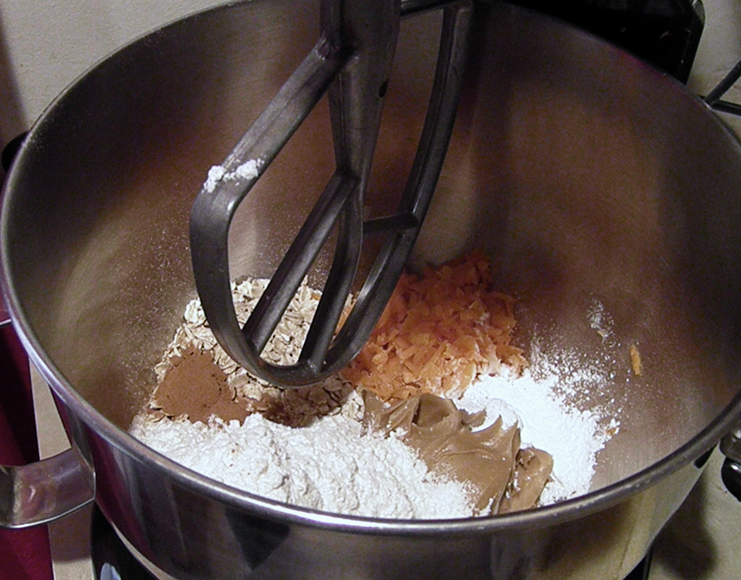
In a mixer or bowl, combine the following...
1 cup peanut butter
2 1/4 cup flour
1/3 cup fresh grated carrots
1/3 cup oats
2 1/2 teaspoons baking powder
2 teaspoons cinnamon
1 - 1 1/4 cup hot water

Once mixed, you'll be able to easily ball up the dough without it sticking to your hands. If it's too sticky, add a little more flour. If it's dry, keep adding water one tablespoon at a time.
Flour the kitchen counter. Knead the dough a bit. Add a little more flour. Before rolling the dough, coat the counter and the top of the dough with more flour.

I roll the dough to the thickness of what you would for a pie crust. You can roll a little thicker if you'd like. Once rolled, use any cookie cutter you want. This dough can be rolled and cut as many times as needed.

The perfect baking time for us is 22 minutes at 350 degrees. Keep in mind that varies depending on the oven you have. Ours is a little older.
When the biscuits are ready to be taken out of the oven, they'll be a little soft and brown on the bottom.

Keep in mind that you will not get a hard biscuit just by baking them in the oven.
If you want a hard biscuit, let them sit on plates, or metal cooking trays, for about 24-48 hours in a temperature controlled area of your home. Cool and dry.
Or, you can serve immediately as a softer baked treat.
That's what we did with these.
Enjoy and happy baking!
No comments:
Post a Comment